How To DIY Paint Kitchen Cabinets
This post may contain affiliate links. If you make a purchase through one of my links, I may make a small profit at no expense to you. For further information, please view my policies.
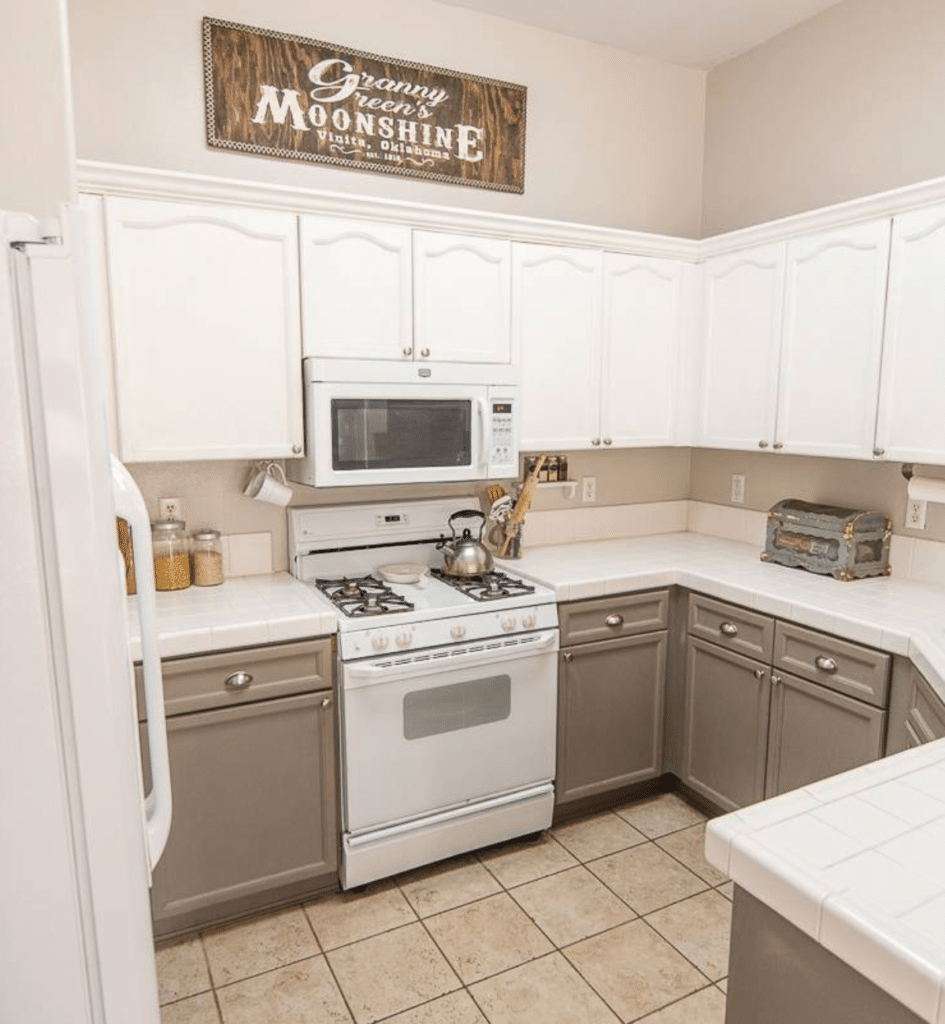
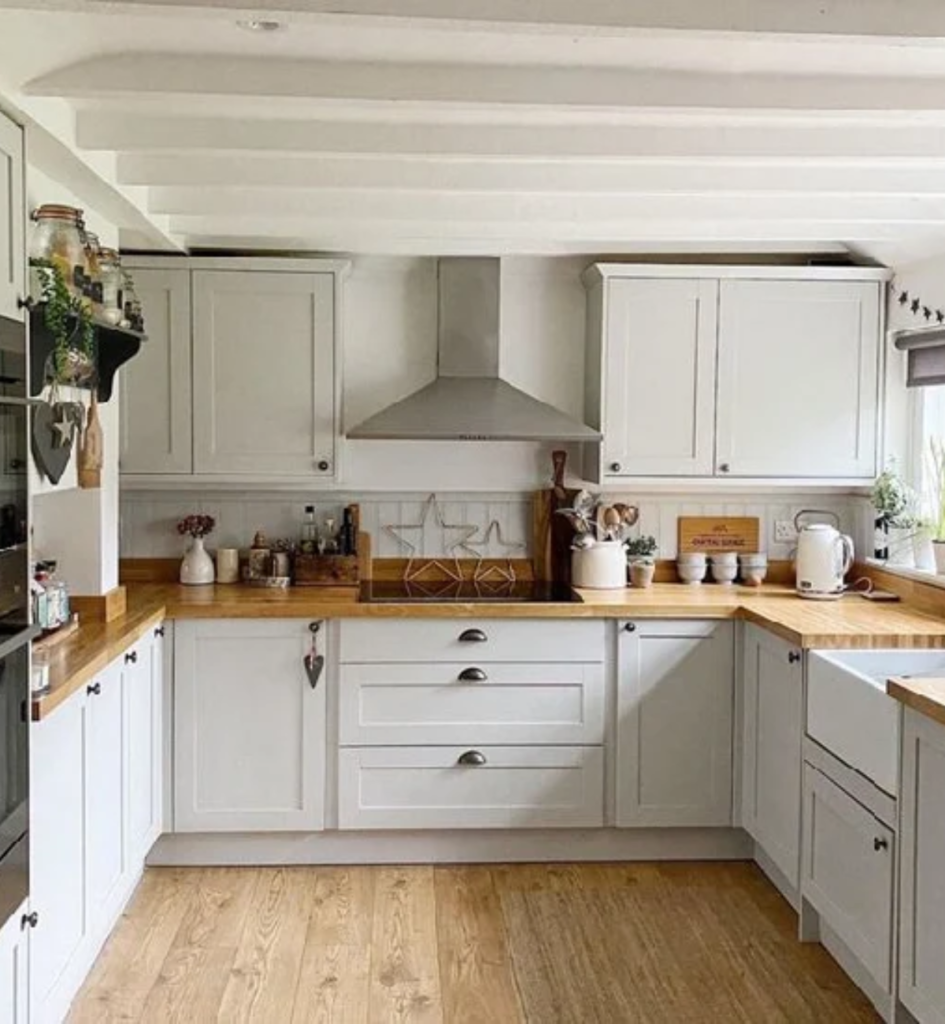
Do your kitchen cabinets look like this? a little dated? You only have two options, one is to rip them out and put in new cabinets which can be really expensive and time consuming.
Another option is to just paint them which is simple and of course a lot less expensive.
So one of the most dramatic things that you can do in your home to increase not only just value but also its physical appearance and durability is to paint your kitchen cabinets.
Today I’m going to show you easy steps to paint your kitchen cabinets along with a few handy tips and tricks to make the process as smooth as possible and get that high-end finish you are going for.
As long as you follow these steps, you can handle any cabinets in your house. Whether it’s your kitchen, maybe your bathroom, or even your laundry room.
Here is a simplified guide on how to paint your kitchen cabinets.
how to diy paint kitchen cabinets – step-by-step guide
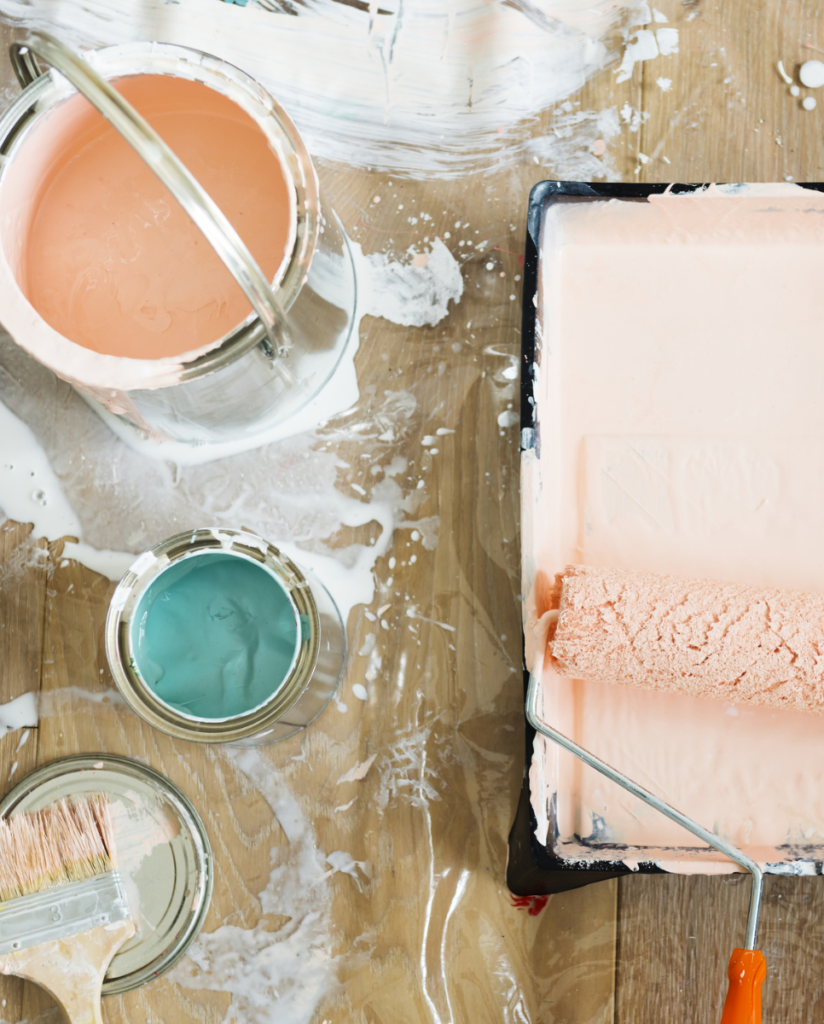
1. GATHER ALL YOUR SUPPLIES
2. SET UP A CABINET PAINTING & DRYING AREa
3. CHECK IF YOUR CABINET FINISH IS OIL BASE OR WATER BASE
4. label all your doors and drawers
5. REMOVE ALL DOORS AND DRAWERS
6. REMOVE HARDWARE AND HINGES
7. CLEAN AND DEGREASE ALL SURFACEs
8. TAPE OFF AND PROTECT SURROUNDING SURFACES
9. PATCH HOLES AND IMPERFECTIONS
10. SAND THE CABINETS, BOXES AND DRAWERS
11. CLEAN THE CABINETS AGAIN
12. PRIME THE CABINETS, DRAWERS AND BOXES
13. LIGHTLY SAND THE CABINETS AGAIN
14. CLEAN up
15. APPLY THE FIRST coat OF PAINT
16. LIGHTLY SAND AND CLEAN ALL SURFACES ONE last TIME
17. APPLY THE SECOND COAT OF PAINT
18. DRILL NEW CABINET HARDWARE HOLES
19. INSTALL HARDWARE
20. REINSTALL CABINET DRAWERS AND DOORS
21. TOUCH-UPS
Related: Popular Kitchen Cabinet Paint Colors.
How to paint kitchen cabinets the right way
Okay, so you have a lot of different kinds of surfaces that all need to be treated differently when you are painting.
So before you get started, the first question you have to solve is what kind of material are your kitchen cabinets made of. Is it wood? Or is it melamine or particle board with a vinyl finish on it? Is the finish water-based or oil-based?
I know you’re probably asking how will you know if the finish on your cabinets is oil-based or water-based. Worry not, today I will be showing you exactly how to do that just in a bit 😉.
WATER-BASED OR OIL-BASED
To know if your kitchen cabinets have a water-based or oil-based finish, go out to the bathroom and steal a nail polish remover with acetone from your wife, or if you use it yourself, well, good.
If you can’t get your hands on a nail polish remover with acetone, you might have acetone in your garage for basic cleaning.
Alternatively, you can purchase them from a local store.
If you’re unable to obtain either of these, consider consulting with a hardware or paint supply store for alternative testing options.
So make sure you have either of these items with you.
Now what you want to do next is perform a simple test. Dip a cotton swab or a soft cloth into the nail polish remover with acetone and gently rub it on the surface of your cabinets and see if anything comes off.
If the finish is not removed by acetone or nail polish remover, then it’s likely oil-based and if the finish is removed by the acetone or nail polish remover, it’s likely water-based. There, problem solved 🙂.
SUMMARY HERE’S HOW TO CONDUCT THE TEST:
1. Dip a cotton swab or a soft cloth into the nail polish remover or acetone.
2. Gently rub the dampened swab or cloth on a small, inconspicuous area of your cabinet surface.
3. If the finish remains unaffected, it’s likely oil-based.
4. If the finish is removed by the acetone or nail polish remover, it’s likely water-based.
What you need
Once we have that problem solved, we know how to move forward with our products so that we get the right kind of bond. So here are some supplies you’re going to need. You can get these on Amazon.
SUPPLIES
1. Painters tape
2. Paintbrush (angled and flat)
3. Paint tray
4. Foam roller
5. Painting tripods
6. Sandpaper (fine grit)
7. Sanding sponge
8. Wood filler
9. Flexible putty knife
10. Degreaser
11. Drop cloth
12. Painters plastic
13. High-quality Primer suitable for cabinets
14. High-quality paint suitable for cabinets
HOW TO PREP KITCHEN CABINETS FOR PAINTING
Make sure your cabinets are emptied before you start working on them.
RELATED: KITCHEN CABINET DESIGN IDEAS
1. SET UP A CABINET PAINTING & DRYING AREA
Because this is going to take a few days and it is going to make a lot of mess, what you want to do is find a place in your house to set up a workstation where you will be doing all the paintwork.
This could be your garage or basement, but I would suggest not trying to do the painting in the kitchen because you still need to live and that means you need to eat.
Ensure that your workstation is well-ventilated.
2. CHECK IF YOUR CABINET FINISH IS OIL BASE OR WATER BASE
As I said earlier, there are a lot of different kinds of cabinets that are made and surfaces that all need to be treated differently when you are painting.
For example, white-washed oak might be a water-based stain it might be an oil-based stain so that is the first question you have to solve.
Already shown you how to do that 🙂.
Because no matter how much sanding you do on oak because of the texture you are always going to have some of that finish sitting in there unless you use a chemical stripper so sanding isn’t enough.
3. LABEL ALL YOUR DOORS AND DRAWERS
Now what you want to do is make your life simple.
Because there are so many doors and drawers and you will be removing them, get a piece of painter’s tape and label all the cabinet doors, drawers, and the cabinet boxes they go into so everything goes where it came from when you reinstall them.
That way you don’t have to readjust all your doors and drawers after you reinstall them.
4. REMOVE ALL DOORS AND DRAWERS
Once you have emptied all cabinets, the next step is to remove your cabinet doors and drawers and then put them in your workstation.
You are going to be working on them there.
5. REMOVE HARDWARE AND HINGES
The beginning of the project is quite simple, now you have all of your doors numbered and you have a workstation setup.
Now you’re going to remove your doors and drawer hardware and the hinges then store them in a Ziploc bag.
I prefer the freezer bags because they are really hardy and you can throw your hardware, hinges, and screws in there, close it up, get out your marker pen and label what cabinet the hardware goes to.
Do this for every cabinet door and drawer. Make sure you don’t mix up your hardware unless you are going to be replacing them.
This is really important because all your hardware is set for a specific cabinet.
You might also want to mark your hinges for every cabinet door and drawer so you know which one goes at the top, bottom, right, or left.
6. CLEAN AND DEGREASE ALL SURFACES
Now grab your degreaser or some TSP and get to work.
Depending on how old and what kind of condition your cabinets are in, you are going to have varying degrees of cleaning necessary. But you don’t want to start sanding until you’ve cleaned.
So why clean before you sand?
Well, the simple answer is you don’t want to be sanding and scrubbing all the oils, dirt, and grime into the surface you are working on especially because these are kitchen cabinets.
Having a clean starting surface will ensure you get the best result.
7. TAPE OFF AND PROTECT SURROUNDING SURFACES
Tape off anything you don’t want the paint to touch.
Lay down a drop cloth or old sheets to protect the floor, and use painter’s plastic or plastic sheeting to cover countertops and appliances. Secure the plastic with painter’s tape to keep it in place.
8. PATCH HOLES AND IMPERFECTIONS
After you have finished cleaning your cabinets, take a moment to inspect them for any holes, gouges, and imperfections that may require filling.
If you find any, simply squeeze the wood filler into the hole and use a putty knife to smooth it out. Let it dry according to the directions.
→ GENERAL TIP
You don’t necessarily need to fill the hardware holes, especially if you plan to reuse the same hardware.
However, if you’re installing new hardware, ensure it has the same screw pattern.
If you opt for a different screw pattern, you’ll need to fill the existing holes and drill new ones accordingly.
9. SAND THE CABINETS, BOXES AND DRAWERS
For sanding there are a couple of products you’re going to need, one is an orbital Sander and you can choose between the ones that rotate in circles or vibrate; either type will suffice for the job.
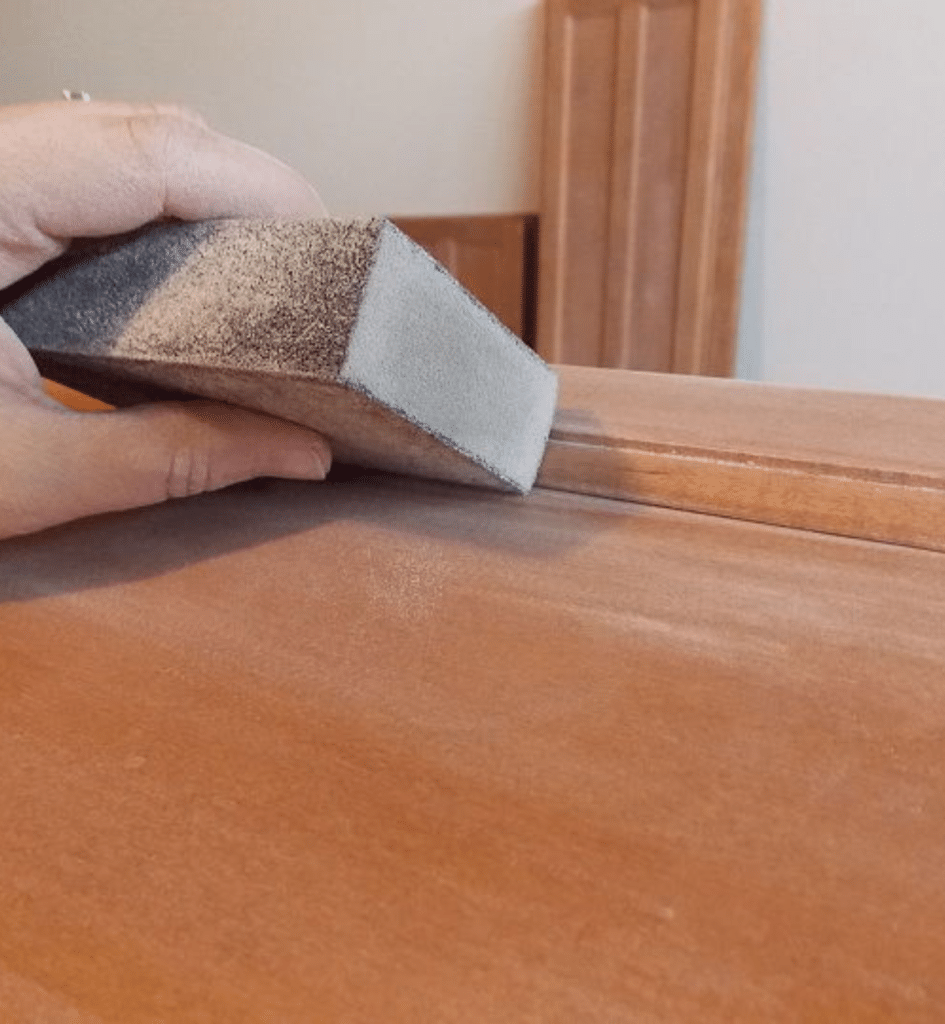
You can also use a medium to fine-grit sandpaper or a sanding sponge, which is easier on the hands and allows better access to corners and intricate details, especially on detailed cabinets.
If you are going to use an orbital sander, of course, be sure to take precautions, there will be a lot of fine dust being kicked out by that so wear a mask for protection.
Begin sanding with the grain and focus on getting through that first layer of finish.
Pay close attention to all the different corners and edges of the cabinets and follow the same process for the doors and drawers.
Now here’s one thing you already tested the finish, if it was an oil-based finish, yes you can get chemical strippers involved.
However, I don’t think it is necessary, technology today makes it so that it’s not necessary to sand your surface all the way to bare wood.
For wood surfaces, light sanding should suffice, while laminate surfaces may require extremely light sanding.
The goal is to transition it into a new product that you can finish and that is going to have the resistance and that wear and tear that you are looking for.
So all you need is to just scuff the surface so that you have a texture that will receive your transition primer.
10. CLEAN THE CABINETS AGAIN
The final step in prepping your kitchen cabinets for painting is cleaning up.
The goal is to remove all dust and debris from the surface. You can achieve this by using a vacuum to suction away larger particles, followed by using a tack cloth to pick up any remaining fine dust.
This ensures that your cabinets are clean and ready for painting, helping to achieve a smoother and more professional finish.
RELATED: KITCHEN CABINET DESIGN IDEAS
PREPPING LAMINATE KITCHEN CABINETS
Any surface you can scuff with sandpaper is paintable.
If your cabinets are made of laminate and they are painted but the paint is in bad shape, make sure you strip it with a chemical stripper to start with a clean smooth surface.
Cabinets often have laminate sides and those are paintable as long as you sand them just be sure not to damage the edges. Remember to go extremely light when sanding laminate surfaces.
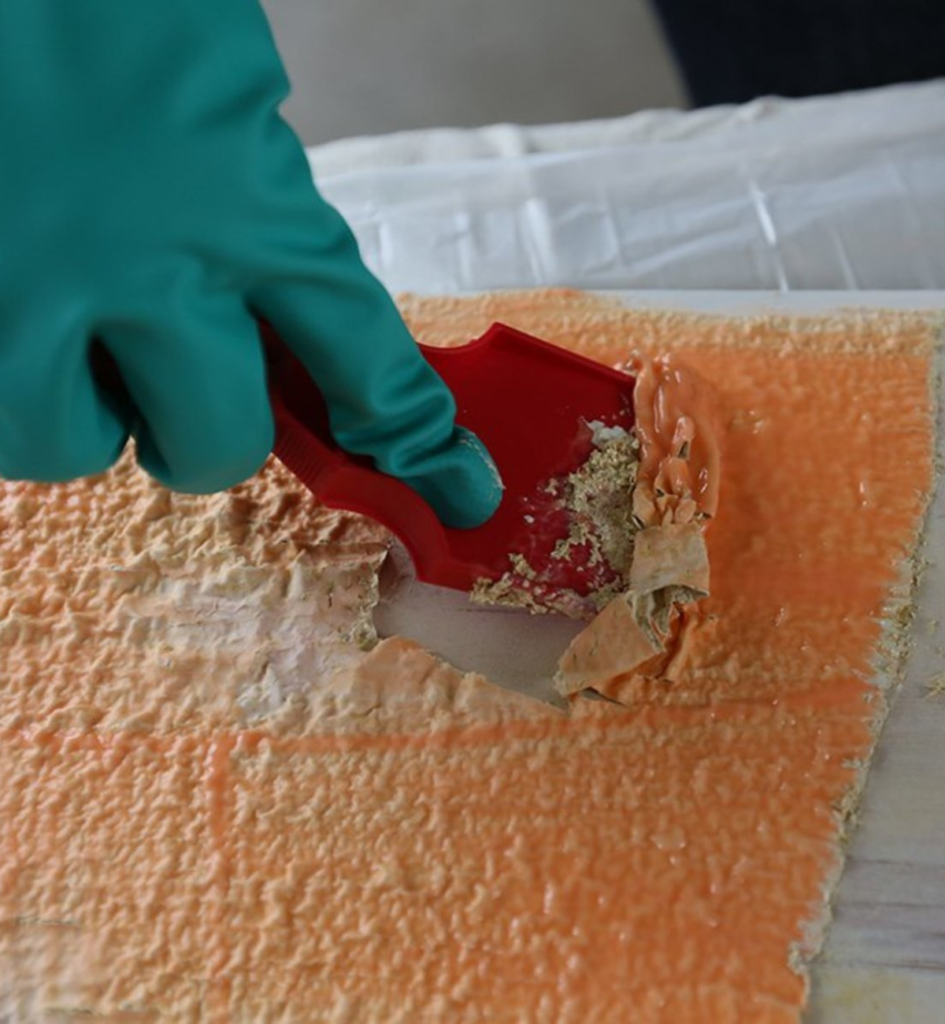
When using chemical strippers make sure you do it in a well-ventilated area.
RECAP – HOW TO PREP KITCHEN CABINETS FOR PAINTING
1. Set up a cabinet painting & drying area
2. Check if your cabinet finish is oil base or water base
3. Label all your doors and drawers
4. Remove all doors and drawers
5. Remove hardware and hinges
6. Clean and degrease all surfaces
7. Tape off and protect surrounding surfaces
8. Patch holes and imperfections
9. Sand the cabinets, boxes and drawers
10. Clean the cabinets again
HOW TO PAINT KITCHEN CABINETS
Once you’ve completed all the necessary prep steps for painting kitchen cabinets, you can move on to applying the paint.
Here’s a refined guide on how to paint kitchen cabinets with high-quality paint for a professional finish.
Remember to choose the right kind of paint specifically formulated for cabinets. Semi-gloss or satin finishes are popular choices as they are durable and easy to clean.
Take a look at this post on how to select paints and primers.
1. PRIME THE CABINETS, DRAWERS AND BOXES
If you’re painting over a dark or stained surface, applying a primer can help achieve a smoother finish and better adhesion of the paint.
Use a high-quality bonding primer and allow it to dry completely according to the instructions.
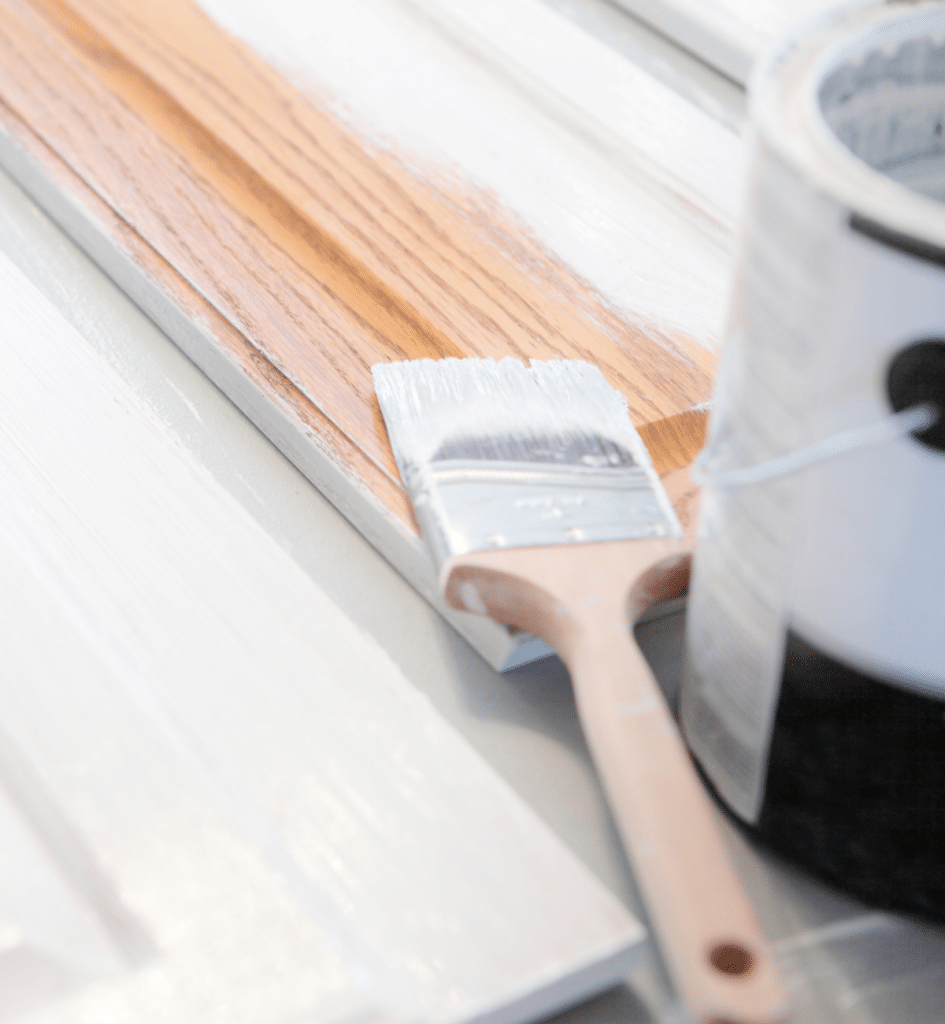
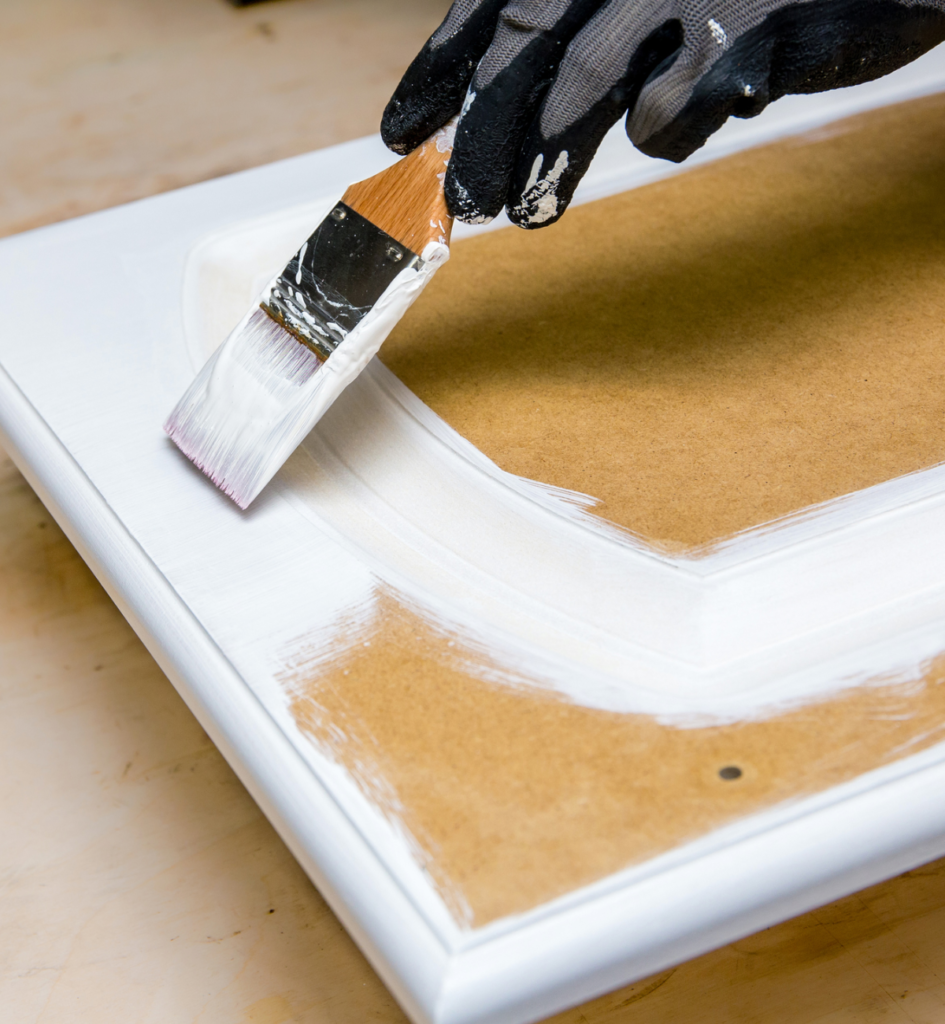
Pour some primer into the paint tray and dip the roller and brush. Using the brush along the edges and tight spots, and the roller on the large flat surfaces coat the cabinet boxes, doors, and drawers with a coat of primer.
Starting at the top of the cabinet brush on the primer across the grain then tip off – pass the brush lightly over the wet coat of primer in the direction of the grain with single strokes.
Primers don’t take long to dry but always check the manufacturer’s directions and let it dry completely before you do anything else.
2. LIGHTLY SAND THE CABINETS AGAIN
To ensure you have a smooth finish, lightly sand all cabinet surfaces with 220-grit sandpaper between your primer coat and your first coat of paint for a smooth finish.
3. CLEAN UP
Thoroughly clean all surfaces to remove dust and dirt. Use a vacuum or damp cloth initially, then follow up with a tack cloth to catch any remaining particles.
4. APPLY THE FIRST COAT OF PAINT
All right the fun begins we get to paint.
As for the finish, avoid a high-gloss finish, as it can highlight nicks and dings. Opt for a semi-gloss or satin finish instead. Avoid using a flat finish in the kitchen, as it can be harder to clean as well.
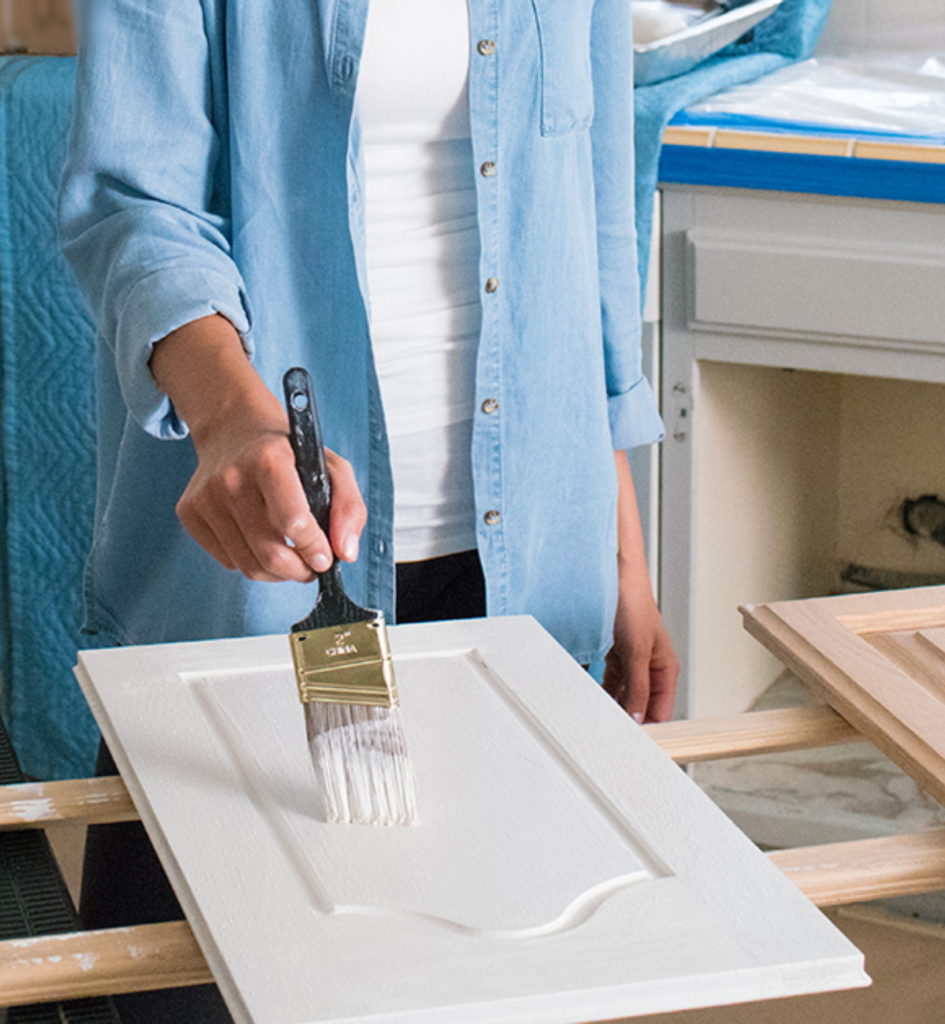
Just like with the primer, use a brush for the frame and switch to a foam roller for larger areas. When painting the doors and drawer fronts, follow the same process.
Use an angled brush for detailed areas and a foam roller for larger surfaces. Remember to ‘tip-off’ to smooth out any tool marks.
Once the back is dry, flip the door over and paint the front. Allow everything to dry according to the manufacturer’s directions.
5. LIGHTLY SAND AND CLEAN ALL SURFACES ONE LAST TIME
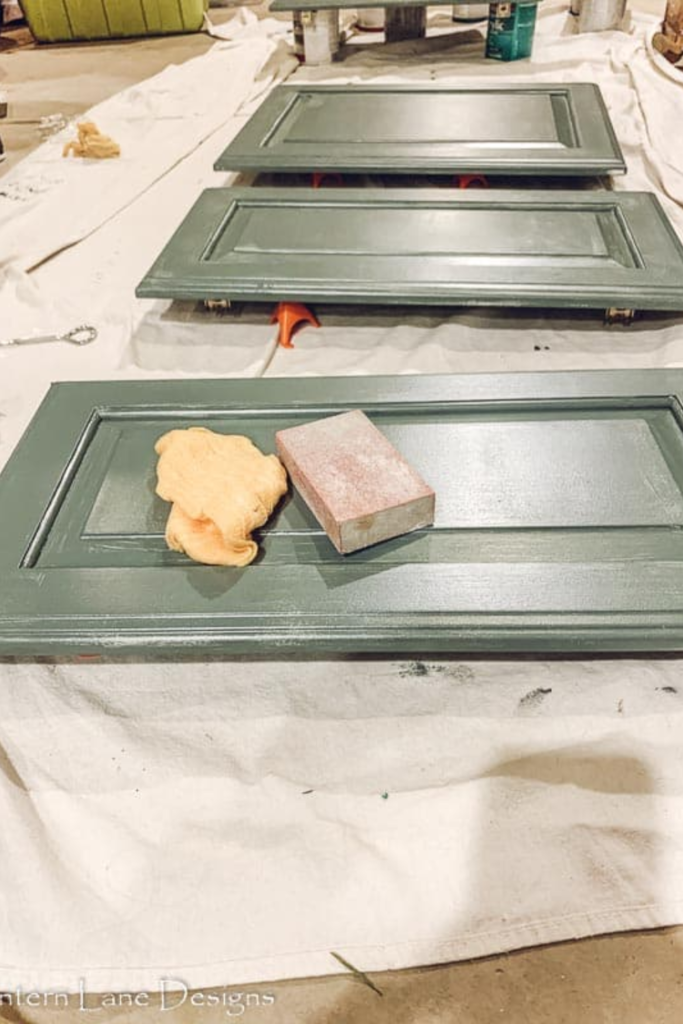
Yes, we are sanding and cleaning again, but this is the last time.
After the first coat of paint is dry, sand the flat surfaces with 220-grit paper and any detailed surfaces with a medium-grit sanding sponge then vacuum, and wipe with a tack cloth.
6. APPLY THE SECOND COAT OF PAINT, TOUCH-UPS
In the direction of the wood grain, apply a thin and even coat of paint on your kitchen cabinets, starting with the drawers and doors, and then moving on to the cabinet boxes.
Allow this second coat to dry before flipping everything over and repeating the process on the other side.
A second coat of paint is always required for a smooth, quality finish.
After the first thin coat has dried do your touch-ups and remember, two thin coats of paint ensure better coverage and a smoother finish.
RELATED: KITCHEN CABINET DESIGN IDEAS
7. REINSTALL YOUR CABINET DOORS AND HARDWARE
After allowing the kitchen cabinets to dry completely, reinstall all cabinet drawers and doors.
This should be easy because you labeled everything at the start of this project.
SOME PAINTING TIPS
1. Prepping the cabinets is very important. DO NOT SKIP IT.
2. Do your best to sand with the grain and remember that you are not trying to take it back to bare wood, you are just scuffing the surface to get it ready for transition primer.
3. Always tip off in a single stroke from one end to the other and ensure that the strokes follow the direction of the wood grain for a smoother finish.
4. While brushing on the primer, it’s important to maintain consistent pressure and avoid overworking the primer, which can lead to streaks or uneven coverage.
5. Always allow every coat of paint including the primer to dry completely before applying additional coats or proceeding with painting.
6. When pouring the primer/paint into the paint tray, it’s important to pour only as much as you’ll need for the immediate application.
7. It’s a good practice to use separate brushes and rollers for primer and paint to avoid contamination and ensure the best application for each coat.
8. Using a smaller brush for tight spots and edges can help achieve better coverage and precision.
9. Use your foam roller on large flat surfaces.
10. For heavily stained cabinets, use a stain-blocking primer that dries fast to seal knots and surface defects. Otherwise, an oil-based or acrylic latex primer will work just fine.
11. For your doors and drawers, remove the labels and place them near them, you don’t want to lose them.
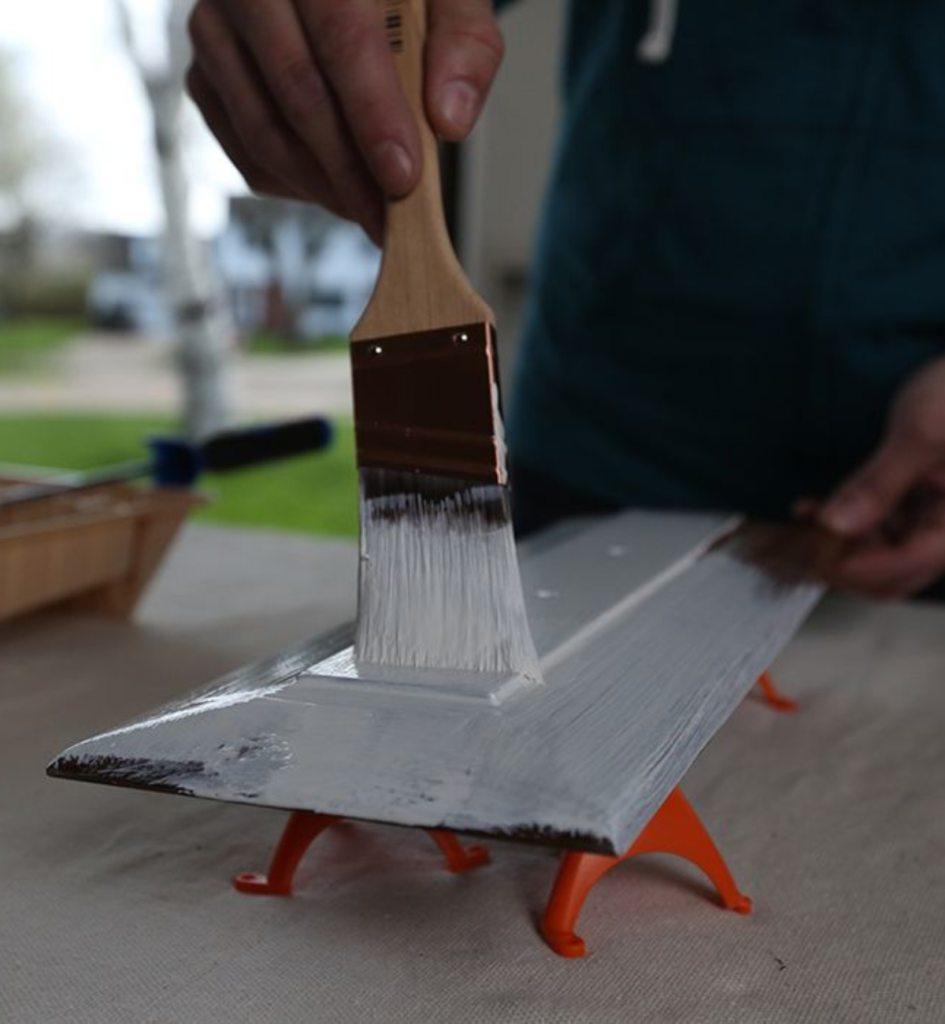
12. Use painting tripods to hold your cabinet doors above your work surface it keeps it cleaner and you can get into all those little detail areas on the side.
13. Let your paint completely cure before you get impatient and start putting stuff back.
14. DO NOT RUSH! If you want your cabinets to look great and last.
COMMON MISTAKES TO AVOID
1. Skipping Proper Preparation – Rushing through or skipping steps like cleaning, sanding, and priming can lead to poor adhesion and a less durable finish.
2. Not Labeling Cabinet Parts – Failing to label cabinet doors, drawers, and hardware during disassembly can make reassembly confusing and result in misaligned or mismatched components.
3. Using the Wrong Paint or Primer – Using low-quality paint or primer not specifically formulated for cabinets can result in poor coverage, uneven finish, or premature wear and tear.
Take a look at this post on how to select paints and primers.
4. Applying Too Thick a Coat – Applying paint too thickly can lead to drips, streaks, and an uneven finish.
5. Ignoring Drying Times – Rushing through drying times between coats can cause the paint to not cure properly, leading to tackiness, smudging, or peeling.
6. Not Sanding Between Coats – Skipping sanding between coats can result in a rough or bumpy finish.
THOUGHTS AND RANTS
At this point, I can’t think of anything better than enjoying the fact that you’ve given your kitchen cabinets a fresh new look without investing a lot of time or money.
I know painting your kitchen cabinets can seem a bit daunting and labor-intensive, but it can be done as long as you follow all of the steps, especially the ones that go into the preparation.
I hope this guide on how to paint kitchen cabinets will help you achieve a professional finish that you want.
Related: Popular Kitchen Cabinet Paint Colors.